Quantcast
Channel: LCD Projects - PIC Microcontroller
Viewing all articles
Browse latest Browse all 253

How to create custom characters on 16×2 LCD using PIC18F4550

$
0
0

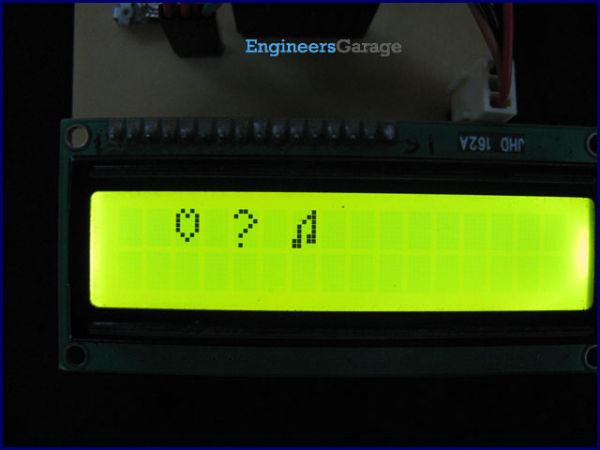
The 16×2 character LCD can also be used to display custom characters other than numerals, alphabets & special characters. Refer LCD interfacing with PIC. Some special shapes like hearts, arrows, smileys etc. can easily be displayed on the 5×8 pixel pattern of character LCD. These shapes are first stored at a special location in LCD’s controller and then displayed on the LCD module. This procedure has been explained here by using PIC18F4550.

The special characters are generated by bit-mapping of LCD’s 5×8 bit pixel matrix. Refer Creating custom characters on LCD using 8051 for more details on bitmap generation and storing custom values in custom generator (CG) RAM of LCD’s controller. 

16x2 LCD

The mikroC IDE provides LCD Custom Character tool to create the bitmap of user defined custom character. (Also see Working with mikroC) To create the bitmaps using this tool, following steps are to be followed:
1. Go to Tools -> LCD Custom Character
2. Select 5×7 + cursor line font and start filling the pixels in the matrix by clicking on them to create a custom character. The following figure depicts the generation of heart shape’s bitmap.
3. After creating the character and click on GENERATE button. A window will appear containing the bitmap values of designed custom character as highlighted in the following figure.
4. These bitmap values can now be used in the code.

The post How to create custom characters on 16×2 LCD using PIC18F4550 appeared first on PIC Microcontroller.

Viewing all articles
Browse latest Browse all 253

Trending Articles


<script src="https://jsc.adskeeper.com/r/s/rssing.com.1596347.js" async> </script>